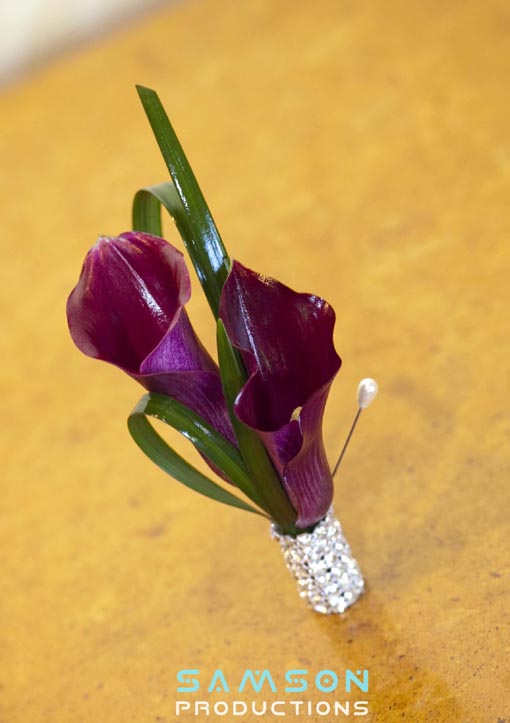
When it is chilly outside, I love to cozy up at my desk with some hot cocoa, and get some work done! And, on that note we are starting off the week with an easy peasy DIY inspiration project. The lovely, Saman, from 2Create Designs, stopped by to show us how to make some simple, sweet, boutonnieres. This is an easy way to knock a hundred or so dollars off your bill, and it won’t even feel like work. Just some good bonding time with friends and amazingly, gorgeous results!
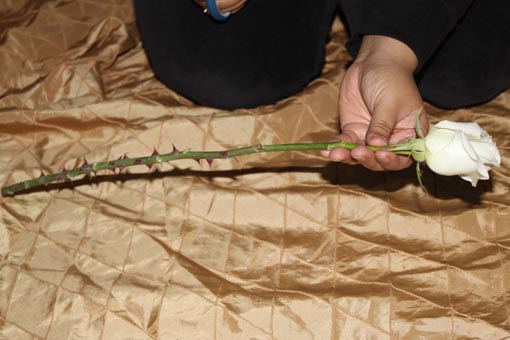
Step #1: Choose a flower for your boutonniere.
Step #4: Wrap the stem wire and the rose stem together using green floral tape
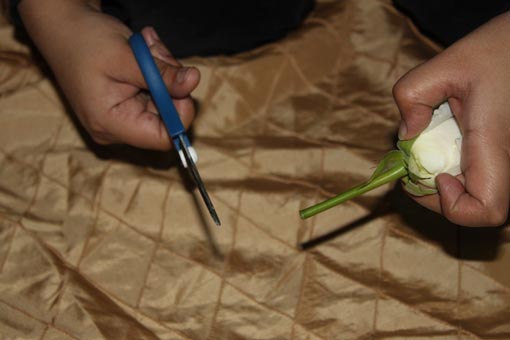
Step #2: Use scissors to cut the stem of the flower to a length of approximately 3 inches.
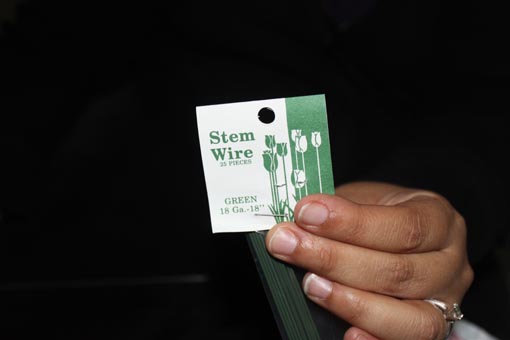
Step #3: Take "stem wire" or any form of wire used in flowers and poke through the meaty party of the rose right where the root is. Fold the stem wire down wards so that both sides of the wire are in line with the original stem of the rose created additional support for the rose stem.
Step #5: Get any color ribbon of your choice (double faced satin usually works best) and wrap the ribbon around the green floral tape.
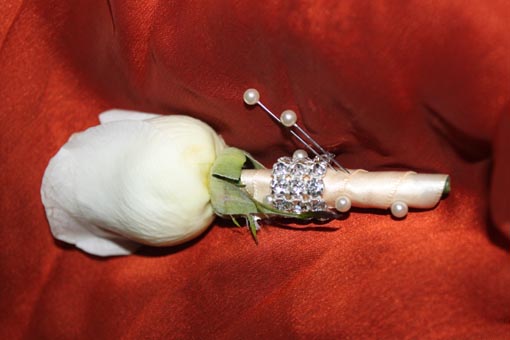
Step #6: Use pearl pins or any decorative pin to secure ribbon in place. You can pur numerous pins going down the boutonniere to create a design and also ensure ribbon is securely pinned on.
Step #7: Decorate with stones, pearls or however you'd like and add a pin or two on the side so that the person who will be wearing the boutonniere will have something to secure it on themselves with.
Viola! It's a breeze! The great thing about making your own, is that you can customize in any way you want. Some trim from your bridal lengha or even from your groom's sherwani can add that extra special touch. Be creative, and most importantly, have fun!
More coming right up!
No comments yet.
Please, sign in to leave a comment.